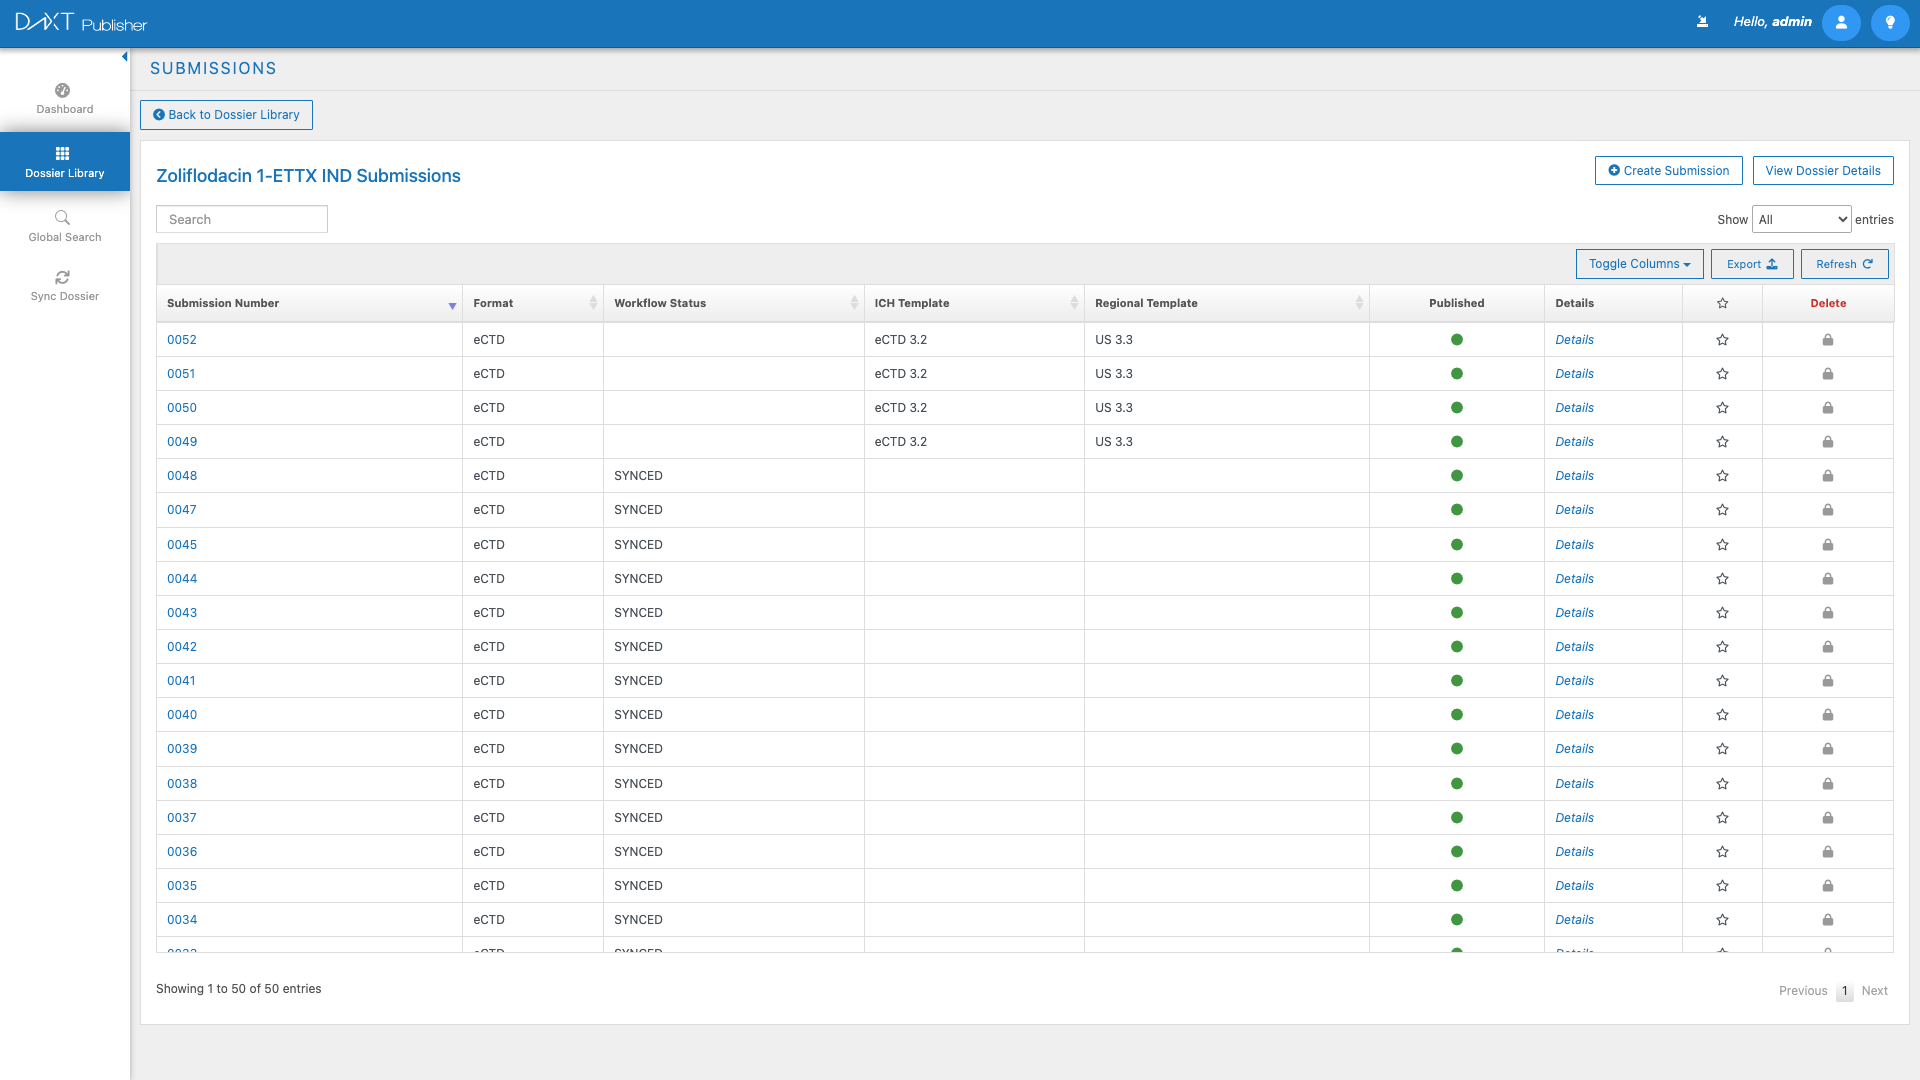
- Validating and Publishing
- The Validation-Publishing Pipeline
- Running Validation
- Understanding the Validation Report
- Resolving Validation Errors
- Workflow Status Changes
- Publishing the Submission
- Downloading the Submission Package
- Post-Publishing
- Best Practices for Validation and Publishing
- Frequently Asked Questions
- Related Articles
Validating and Publishing #
Validation and publishing are the final and most critical steps in the eCTD submission lifecycle. Before a submission can be sent to a health authority, it must pass a comprehensive set of validation checks that verify eCTD compliance, document integrity, hyperlink correctness, and structural completeness. Once validated, the submission is published — packaged into the standard eCTD format ready for gateway submission. This guide covers the complete validation and publishing workflow in DnXT Publisher, from running your first validation to downloading the final submission package.
The Validation-Publishing Pipeline #
The typical path from authoring to final submission follows these stages:
- Authoring — Documents are placed in the TOC, lifecycle operations are set, and hyperlinks are created.
- Validation — The submission is checked against eCTD rules, regional requirements, and organizational standards.
- Error Resolution — Any errors or warnings from validation are reviewed and resolved.
- Re-Validation — The submission is validated again to confirm all issues have been fixed.
- Workflow Approval — The submission workflow status is advanced through review and approval stages.
- Publishing — The final validated submission is published as an eCTD package.
- Download — The published package is downloaded as a ZIP file for submission to the health authority gateway.
Running Validation #
To validate a submission:
- Open the dossier in the TOC Editor.
- Select the submission you want to validate using the Submission Selector Dropdown.
- Click Actions > Validate Submission in the top menu bar.
- Publisher runs the validation checks. A progress indicator shows the validation status.
- When validation completes, the Validation Report is displayed.
Understanding the Validation Report #
The Validation Report is a comprehensive document that categorizes check results into three levels:
| Level | Icon | Description | Action Required |
|---|---|---|---|
| Error | Red circle with X | A critical compliance issue that must be resolved before the submission can be published. | Must fix before publishing. |
| Warning | Yellow triangle with ! | A potential issue that should be reviewed. The submission may be publishable with warnings, but some health authorities may reject submissions with certain warnings. | Should review and fix if possible. |
| Passed | Green circle with checkmark | The check passed successfully with no issues. | No action needed. |
Validation Categories #
The validation report organizes checks into several categories:
| Category | What Is Checked |
|---|---|
| Structural Validation | eCTD backbone XML is well-formed and valid against the DTD/schema. Required TOC sections are present. |
| Document Validation | All referenced documents exist. File formats are correct for their TOC positions. File checksums are valid. |
| Hyperlink Validation | All hyperlinks point to valid targets. No broken links, missing bookmarks, or circular references. |
| Lifecycle Validation | Lifecycle operations are consistent. Replace/Delete operations reference valid prior documents. No conflicts between operations. |
| PDF Validation | PDF files meet eCTD PDF specifications (fonts embedded, no encryption, correct page sizes, bookmarks present where required). |
| Regional Validation | Region-specific requirements are met (e.g., FDA gateway requirements for US submissions, EMA requirements for EU submissions). |
Resolving Validation Errors #
For each error in the validation report:
- Read the error description — The report includes a clear description of what is wrong and often suggests how to fix it.
- Identify the affected TOC node — The report links to the specific TOC node or document where the error occurs. Click the link to navigate to that location in the TOC Editor.
- Fix the issue — Depending on the error type, you may need to:
- Replace a document with the correct format.
- Fix a broken hyperlink by updating its target.
- Add a missing document to a required section.
- Correct a lifecycle operation reference.
- Re-embed fonts in a PDF file.
- Re-validate — After fixing errors, run validation again to confirm the fixes resolved the issues.
Workflow Status Changes #
Before publishing, the submission typically needs to progress through workflow status stages. Use the Workflow Status Dropdown in the TOC Editor top menu bar to advance the status:
- Draft > In Review — Submit the authored submission for team review.
- In Review > Approved — After reviewers approve, advance to Approved status. This may require one or more approvals depending on your workflow configuration.
- Approved > Published — Execute the publishing operation to generate the final eCTD package.
Some organizations configure mandatory approval gates where specific users must approve before the status can advance. The Dashboard Tasks tab shows pending approvals for designated approvers.
Publishing the Submission #
Once the submission has been validated with zero errors and has reached the Approved workflow status, you can publish:
- Open the dossier in the TOC Editor.
- Verify the submission is in Approved status.
- Click Actions > Validate Submission for a final validation pass (recommended).
- Confirm zero errors in the validation report.
- Change the workflow status to Published using the Workflow Status Dropdown.
- Publisher generates the final eCTD package, including the backbone XML, document files in the correct folder structure, and all metadata.
Downloading the Submission Package #
After publishing, download the eCTD package as a ZIP file for submission to the health authority gateway:
- Click Actions > Download Submission Zip in the TOC Editor.
- Publisher packages the entire submission into a standard eCTD folder structure within a ZIP file.
- The download begins automatically. Depending on the submission size, this may take a few moments.
- Save the ZIP file to your local computer.
- The ZIP file contains the complete eCTD submission ready for upload to the health authority’s electronic gateway.
ZIP File Contents #
The downloaded ZIP file follows the standard eCTD folder structure:
/[sequence-number]/— The root folder for the submission sequence./[sequence-number]/m1/— Module 1 regional documents./[sequence-number]/m2/— Module 2 summaries./[sequence-number]/m3/— Module 3 quality documents./[sequence-number]/m4/— Module 4 nonclinical documents./[sequence-number]/m5/— Module 5 clinical documents./[sequence-number]/index.xml— The eCTD backbone XML./[sequence-number]/index-md5.txt— The checksum file.
Post-Publishing #
After a submission is published:
- The submission becomes read-only in Publisher. No further changes can be made to documents, lifecycle operations, or hyperlinks.
- The “Published Today” counter on the Dashboard increments.
- The submission appears in reporting and analytics as a published item.
- To make corrections, you must create a new submission sequence within the same dossier.
Best Practices for Validation and Publishing #
- Validate early and often — Do not wait until the authoring phase is complete. Run validation after placing a batch of documents to catch issues early.
- Fix errors before warnings — Prioritize error resolution since errors block publishing. Address warnings afterward.
- Run a final validation before publishing — Even if you validated earlier and fixed all issues, run one final validation immediately before publishing to catch any last-minute changes.
- Review the ZIP file — After downloading, spot-check the ZIP file contents to verify the eCTD structure looks correct before uploading to the gateway.
- Keep validation reports — Save or document your final clean validation report as evidence of compliance for audit purposes.
Frequently Asked Questions #
Can I publish a submission with warnings? #
It depends on your organization’s configuration. Some organizations allow publishing with warnings, while others require all warnings to be resolved. Your administrator can configure the publishing policy.
What happens if I need to fix something after publishing? #
Published submissions are read-only. To make corrections, create a new submission sequence within the dossier, apply the corrections, validate, and publish the new sequence.
Can I re-download a published submission? #
Yes. You can download the ZIP file for any published submission at any time by opening the submission in the TOC Editor and using Actions > Download Submission Zip.
How do I know which health authority gateway to submit to? #
The gateway depends on your target region. Common gateways include the FDA ESG (US), EMA CESP/eSubmission Gateway (EU), and HC EMTS (Canada). Your regulatory operations team can advise on the correct gateway.
Can multiple submissions be published at the same time? #
Yes. Each submission is published independently. You can have multiple team members publishing different submissions in different dossiers simultaneously.
Related Articles #
- Submission Authoring with the TOC Editor — Author submissions before validating.
- Document Lifecycle and Status — Understand lifecycle operations checked during validation.
- Creating and Managing Hyperlinks — Fix hyperlink issues identified by validation.
- Adding and Managing Documents — Resolve document-related validation errors.
- Dashboard Overview — Monitor publishing activity from the Dashboard.